
I hear people say all the time that they have a brown thumb and that they just don’t know how to keep plants alive. Well, I’m here to tell you you don’t have a brown thumb. You just have no clue what you’re doing— yet. That’s why I’m going to share with you how to fix your brown thumb in a few easy steps and be a successful gardener!
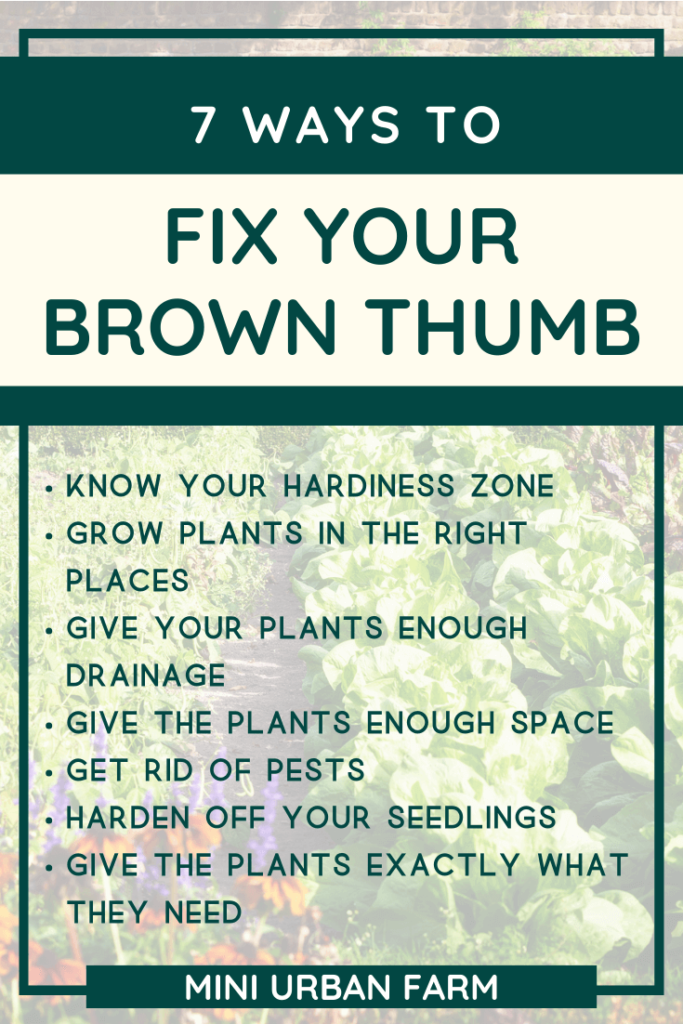
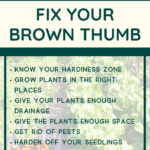
How to Fix a Brown Thumb:
- Know your hardiness zone
- Grow plants in the right places
- Give your plants enough drainage
- Give the plants enough space
- Get rid of pests
- Harden off your seedlings
- Give the plants exactly what they need
Disclosure: This post may contain affiliate links. If you purchase a product through one of our affiliate links we make a small commission from the sale at no extra cost to our readers.
How to Fix a Brown Thumb
A lot of times people start gardens with the best of intentions and then end up with things that look like crispy, fried-up little seedlings, which is definitely not what you want.
You want to have nice, green, healthy plants filled with flowers and tons of vegetables to come. There are a few reasons for your ”brown thumb”, which you can fix with a few super essential tweaks!
To fix your brown thumb, use these simple tips to learn more about your garden and in no time you’ll have a flourishing harvest!
1. Know Your Hardiness Zone
I see so many new gardeners growing plants that are simply not meant for their area.
For example, I am in central Florida, which means I’m in zone 9b. Here, we cannot grow things like pears and we cannot grow lettuce in the 100-degree heat!
They won’t even survive unless I baby them – and even then they might die!
But – what’s crazy is that the garden center definitely has lettuce starts in summer in my area.
If I take those same lettuce transplants from the garden center and stick them outside in 100-degree weather, they’re not going to do well.
And if you don’t know that information, it is not your fault if your plants die. The garden center is selling you something that they know doesn’t grow here!
If you want your garden to thrive, you have to grow things that are good for your hardiness zone.
And unfortunately, not all plants will grow in all hardiness zones.
For example, as much as my dad loves mangos, he lives up in Maine – hardiness zone 5a. You definitely cannot grow mangos there.
What you want to do is search for your zip code and hardiness zone, and it’ll pretty much give you what hardiness zone you’re in.
Just type into the search bar “hardiness zone + (your zip code).”
When I do that, I come up with zone 9b, which has hot summers and mild winters. From there I can search for plants are proven to do well in my climate.
We don’t really get a lot of snow here in central Florida so I’m not going to grow things that do well in that kind of environment. They will just not thrive in my area.
Growing the right plants for the place that you’re in is the number one biggest mistake I see new gardeners make across the board, and a super simple fix to a brown thumb!
2. Grow Plants In The Right Places
Another major thing that I see people doing all the time that will kill your plants ASAP is growing plants in the wrong places.
For example, I have some kale, arugula, and mustard greens that are doing really well because I’ve planted them in the right place.
These plants do well in a partially shaded area. They can tolerate full sun, but will fry easily if they have no shade during the day.
The same thing is true for my Roma tomatoes. If I put them in a very shady spot in my garden, then they will not do very well – they require full sun to grow those beautiful sun-ripened tomatoes.
So, I found the very sunniest space in my entire garden to put my tomatoes, my beans, and other things that do really well in the sun.
Planting your crops in the wrong places can mess up your harvest and make you doubt your garden abilities.
So here’s the fix: take a look at your garden space.
Does it have lots of shade due to trees, fences, or other structures?
Maybe your garden has absolutely no shade, 100% full sun.
Keep this in mind when deciding what you want to grow. And if you need more shade, some shade cloth really comes in handy!
3. Give Your Plants Enough Drainage
If you are trying to grow plants without drainage (or enough drainage) then you are basically drowning the roots and killing them slowly over time.
This has many forms.
It can look like planting something into a pot with no drainage holes. Or taking a potted plant with drainage holes and putting it inside a bigger pot without drainage holes and then watering that (which I see people do all the time.)
It can also look like planting a garden into heavily compacted soil.
But in either case, the excess water that your plants don’t absorb just sits there, preventing your plant from getting oxygen.
So, repeat after me— my plants need drainage.
Excellent! Don’t let anybody tell you otherwise.
In order to fix or prevent this problem, make sure that you are planting in nice, well draining soil. The soil should hold together momentarily when you form it into a ball, but should also break apart easily.
My go to for soil for seed starting is a mixture of cow manure compost, sphagnum peat moss or coco coir, and perlite. You can watch exactly how I make it in this video.
And for goodness sake – if you plant in containers, make sure those containers have drainage holes!
Psst…want to fast track your garden? Get access to my FREE gardening resource library and start maximizing your garden today!
4. Give The Plants Enough Space
Another common mistake I see people making is not giving their plants enough space.
Imagine you’re locked in a dog house, not having enough space to stretch your legs, or sit upright. After a while it would feel pretty suffocating, right?
The same thing is true for plants. They suffocate to death when there is no space for them to stretch and spread out.
For example, I have a papaya tree that’s in a little container. Papayas grow pretty large and if I leave mine in my little Red Solo cup for the entirety of its life, it is going to die – period.
This is because there’s just no space for the tree to grow.
Now if this is you, don’t feel bad. I used to do this too.
Back long ago when I first started growing food I had a nice pot and planted a whole bunch of tomato seeds in.
At first they did great, but after a while they all started to come up and began fighting for space. Unfortunately, none of them won the battle and they all stayed at about 3 inches tall until I finally got rid of the majority of them and left only one or two.
So, when you get a new plant, whether it’s a papaya tree, a tomato pot, or whatever it is, make sure you look up the spacing requirements – and give that plant the space it needs!
5. Get Rid Of Pests
I have a perfect example in my garden right now of how pests can kill your crops. One of my cute little cucumber plants has come down with some leaf miner damage.
I can tell because of the little white veins running through the leaves of the plant. And if I follow those lines I often find a tiny yellow/green worm eating it’s way through my precious cucumbers!
The number one thing that will kill your plant in no time flat is pests.
You may be watering your plants properly, giving them the amount of space that they need, enough light, and all the essential stuff plants need to thrive.
But if you are not taking care of signs of pests and disease when you first see them, this leaf miner will eat leaves all the way up until it kills the entire plant!
Then you’ll have no cucumbers to speak of. So, when you first start noticing signs of these pests and diseases in your garden, here’s what you need to do:
- First, look up whatever it is that you’re seeing on your plants
- Find the remedy for it
- Get or make the treatment needed to get rid of the pest
- Treat your plants as soon as humanly possible
This is one that I wouldn’t recommend waiting on.
There have been times that I see the first signs of pest damage and decided it could wait another day or two.
Nope!
The next day I generally come back to find my vegetables resembling little sticks, completely unsalvageable!
So do yourself a favor and have some basic pest control on hand. I would recommend neem oil diluted in water since it’s an effective organic approach.
I keep this in my potting bench year round and whenever I see signs of pests I tackle it before it spreads!
6. Harden Off Your Seedlings
Hardening off your seedlings is important, especially if you live in places that get cold temps.
This process involves acclimating your seedlings to the outside air, preferably in the place that they’ll call their forever home.
Now, this will vary by region.
Here in Florida it’s pretty warm outside most of the year, and I don’t have to use a greenhouse most of the time.
However, sometimes when I do plant my seedlings inside my greenhouse, I will slowly get them use to the outside environment by partially opening the front of the greenhouse, increasing the opening every few days until they are fully exposed.
This ensures that when they get planted in their forever home, they won’t die of shock – similar to dipping your toe in the pool, and then your legs, and then your fully body!
Now, keep in mind that you don’t have to do this with seeds that you direct sow into the garden. These seedlings will have grown up in that environment and will already be acclimated!
7. Give the plants exactly what they need
Okay, I saved the trickiest one for last. But I promise, it’s not all that difficult!
Say you see some of the leaves on your plants turning purple. You know that they probably shouldn’t be that color, so you turn to Google.
And after a bit of research you discover that your poor plant likely has a phosphorus deficiency.
Well, the best course of action would be to apply a quick acting, organic, phosphorus-rich fertilizer.
Or let’s say you’ve been waiting all season for those beautiful vine-ripened tomatoes. You’ve had the salad bowl ready for months.
But then you finally go to pick them and notice a bunch of your tomatoes have a black, rotten spot on the ends.
Well, they probably have a calcium deficiency and the best thing to do is give them some fertilizer rich in calcium.
See what I did there?
I found out exactly what the plant needed – and then I gave it to them!
Don’t just discover that there’s a deficiency in your garden and proceed to do nothing about it. That’s the easiest way to end up with no vegetables!
Plus, if you do notice some nutrient deficiencies in your soil, it would be wise to take a proactive approach from here on out.
As in – FEED YOUR SOIL!
A quick top layer of cow manure compost at the beginning of the season usually does the trick for me! In this post here I share exactly how I prepare my garden for the next season, and I rarely have nutrient deficiencies come up!
By doing these 7 things you’ll be well on your way to a green thumb!
And for more gardening resources, get access to our free gardening resource library! It will help you fast track your garden and it only takes 5 seconds!
PIN How to Fix a Brown Thumb