When I set up the raised beds at my new house I went to the garden section at the hardware store to get all the materials I needed. I gathered my soil ingredients, my lumber, and some plant starts. Then when I was checking out, the cashier asked me if I needed any rocks for the bottom of my raised beds. As I usually don’t put rocks in the bottom of my beds, I asked myself “Should I put rocks in the bottom of my raised garden bed?”
There is no need to put rocks at the bottom of a raised garden bed. It is actually a myth that has been around for several years. The belief for many years was that it would improve the drainage and also prevent any soil from spilling outside the beds. Actually, the addition of rocks underneath the beds would result in drainage concerns as it would cause a rise in the water bed. This would result in waterlogging the short root plants which would cause them to wilt.

Disclosure: This post may contain affiliate links. If you purchase a product through one of our affiliate links we make a small commission from the sale at no extra cost to our readers.
Should I Put Rocks in the Bottom of My Raised Garden Bed?
In short, no you should not put rocks in the bottom of your raised garden beds.
Below are a few reasons why it’s not a good idea to add rocks to the bottom of raised beds – which is good news from a labor and cost perspective! Especially if you’re gardening on a budget!
Rocks Don’t Improve Drainage
The myth about rocks and gravel improving drainage is wrong in several ways.
Using rocks or gravel at the bottom of your raised beds actually creates several problems that can negatively impact your plants.
The truth is that gravel does drain water quicker compared to the soil but it cannot hold water like soil can.
The soil needs to be saturated for the water to run out of the beds or plant pots.
For example, if a sponge is placed on gravel the sponge will keep absorbing the water until it can no longer hold any water. The gravel does not help in draining the soil any quicker.
Problems Caused by Gravel
Now, the sponge was the soil, and if you have put gravel underneath beds that would mean there is not enough soil present in the bed for the water to move down.
This is because the addition of gravel has pushed the saturated table water layer higher hence closer to the plant roots.
The damp soil at the bottom is at a much higher position causing the roots to stay longer for a much longer time and eventually result in root rotting.
This also minimizes the volume of your raised bed which is required for healthy plant root growth and volume.
At the end of the day, you have an unhappy plant which is sitting in wet soil and there is no way to remove the excess water due to the presence of gravel underneath which has made the drainage process very slow.
Ways to Increase the Drainage
There are always ways to find a solution to the drainage problem, but adding gravel is not the answer.
The best strategy would be to increase the amount of soil in your raised beds to improve the drainage.
Of course, using the right type of soils for drainage and water retention are key to this working.
And the best type of soil for raised beds is a mix of peat moss, compost, and perlite. Using perlite helps to keep the soil light and fluffy, ultimately increasing drainage.
In my raised beds I use a similar mix as my DIY seed starting soil – you can watch exactly how I make it and then add in more compost for a good raised bed mix!
Using a good balance of compost, peat moss, and perlite will help your plant’s roots grow strong, while still providing adequate drainage to prevent root rot.
Gravel for Potted Plants
A fantastic idea on how to utilise rocks/gravels is using them outside the potted plants in the drainage tray.
Once again, I would not suggest using them inside the pot because that would cause the drainage problem.
But by putting gravel in the drainage tray it will hold the water which has drained from the pot.
This will increase the humidity and also avoid the roots from being waterlogged.
If you are using the gravel to prevent soil from escaping from the drainage holes in the pot, a better idea would be to add a layer of coffee filters to the pot, before adding the soil.
This will allow excess water to pass though, but keep the soil in place, and your patio mess free!
Psst…want to fast track your garden? Get access to my FREE gardening resource library and start maximizing your garden today!
Pots without Drainage Holes
Using pots without drainage holes can be deadly for your plant.
Without these drainage holes at the bottom of the pot, water is accumulated and your plant’s roots can rot and die.
If you’ve already planted some plants in pots without drainage holes, however, here are a few things to consider, so that your plant doesn’t die.
Drill Holes in the Pot
Drilling holes in the pot will definitely make a mess if there’s already a plant in there.
It might also destroy some of the exiting roots at the bottom of the container.
However, in the long run, it would be better to have these drainage holes and your plants root system will likely survive the disturbance if you plant is established.
Of course, this works best on plastic pots, as drilling holes in clay or ceramic containers comes with another set of challenges!
Adding in Gravel
I know, I know – this entire article is all about why you shouldn’t be using gravel.
But hear me out…
If your pot does not have any drainage holes then gravel can be inserted in the bottom to increase the drainage.
It would create somewhat of a drainage tray inside the pot which would collect the excess water released from the soil.
This can protect the roots from being too wet but is only useful for small plants.
However, you should consider the following when adding gravel to the bottom of pots:
- Don’t overwater! Due to the inability to see the gravel, it is impossible to know how much water you need to supply to the plants for healthy growth. The only way to know that for sure is by trial and error. If a lot of water builds up in the pot it would cause the soil to become soggy and the roots will eventually rot.
- Check for Disease: Imagine leaving food inside your fridge for weeks and coming back to moldy food. The same is the case for soil. If your soil is going to remain soggy it would cause moisture in the organic material, leaving you with a moldy mess at the bottom! Gross! Always check your plant for signs of disease in this case.
Using Rocks in the Garden
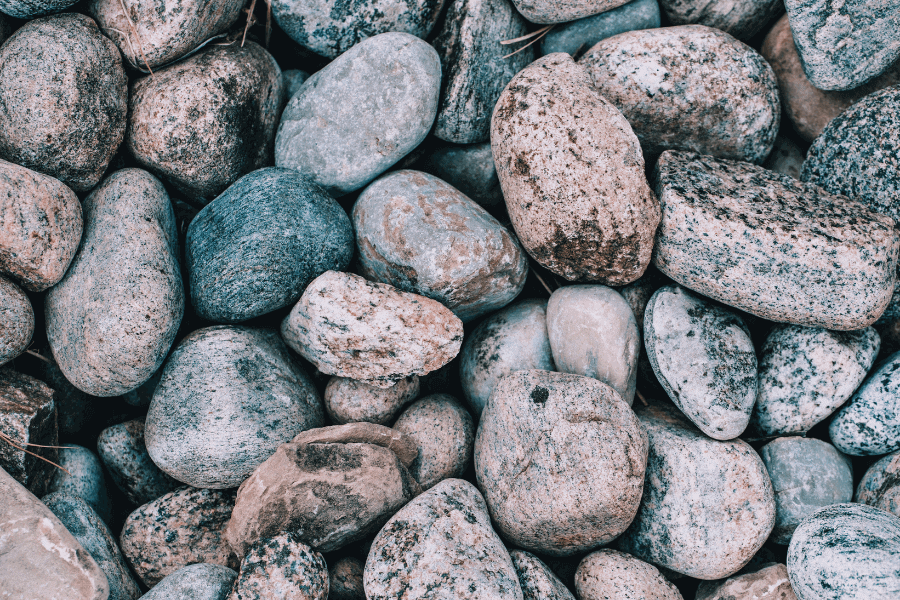
Rocks definitely have a place in the garden, just not at the bottom of raised beds.
For example, the areas around my raised beds are covered in rocks which adds a decorative element to the garden.
And not only is it pretty, but it helps to keep weeds out.
Rocks minimise the growth of weeds and require very little maintenance since they don’t decay like mulch does.
Plus there’s no need to water it like grass.
They are sturdy enough to stand the harshest of climates, such as the Florida summers down here!
That makes them ideal for places which encounter a lot of wildfires and look polished all year long.
The only drawback to using rocks is that they are heavy and require a lot of effort to move!
So changing out the rock landscaping for another design might prove difficult and tedious in the future!
Is having Rocks in the garden a good idea?
Having a rock garden is a fantastic idea as they are fireproof. So if you reside in an area which experiences a lot of wildfires and love to have a beautiful garden then rock gardens are a fabulous way to achieve this. They are also resistant to the wind and heavy rocks and prevent soil erosion. So if you intend to decorate your garden with some rock work, go for it!
What is required to prepare the ground for a rock garden?
Just like any raised bed mixture a good rock garden soil mixture also consists of high-quality topsoil, gravel or pebbles and leaf mold or peat moss. Adding organic materials like manure and compost in small amounts can also be done to increase the fertility of the rock garden soil mix. But, very rich soil is not recommended for plants which are meant for rock gardens.
Are rocks a good substitute for Mulch?
Rocks control the weed growth much better than mulch. This is because weeds have to find their way around the rock top layer instead of pushing through it. Rocks are more suitable for gardens which have a low-water table. And rocks tend to absorb more heat compared to mulch, but will not catch on fire like mulch will, if given the right opportunity.
At the end of the day, you should avoid adding rocks to the bottom of your raised beds to prevent any issues with drainage. It might save you a few bucks on soil at the start, but it will also reduce the volume of raised beds immensely which can result in waterlogging and rotten roots. Hence, while you think you are saving on the soil you would still be spending quite a lot on techniques to improve the drainage of your raised bed.
I hope this was super helpful! And for more gardening resources, get access to our free gardening resource library! It will help you fast track your garden and it only takes 5 seconds!
Pin Should I Put Rocks in the Bottom of My Raised Garden Bed!


