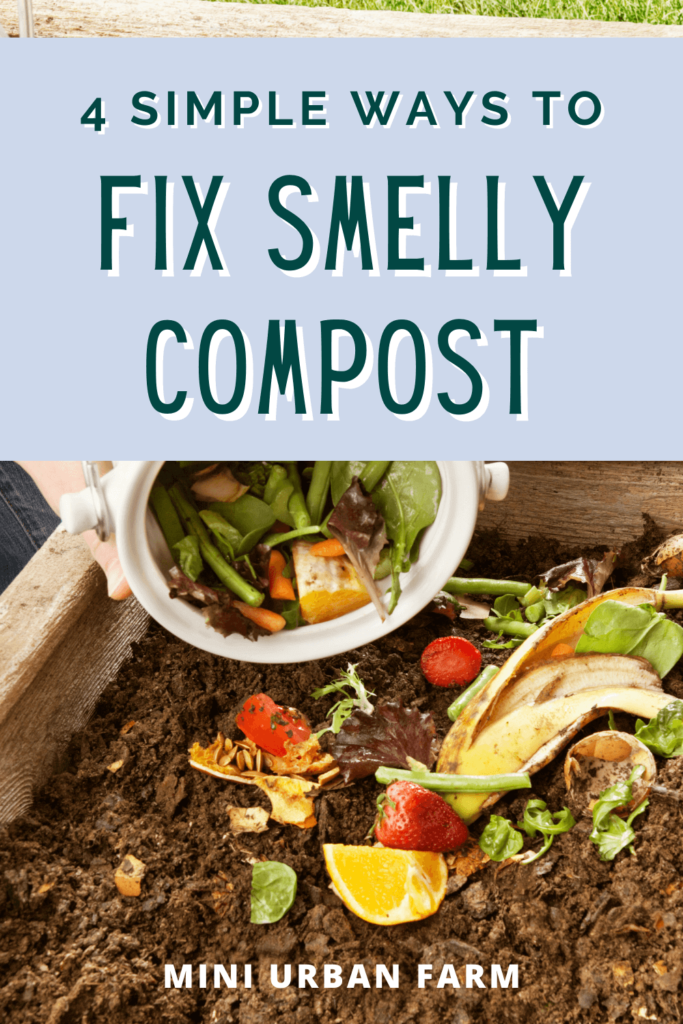
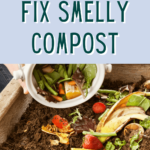
If your compost bin smells, you are doing something very wrong because compost should smell just like dirt even during the breaking down process. That’s why I’m going to share with you the four reasons why your compost smells, and what to do to fix your smelly compost
How to Fix Smelly Compost:
- Why does my compost smell?
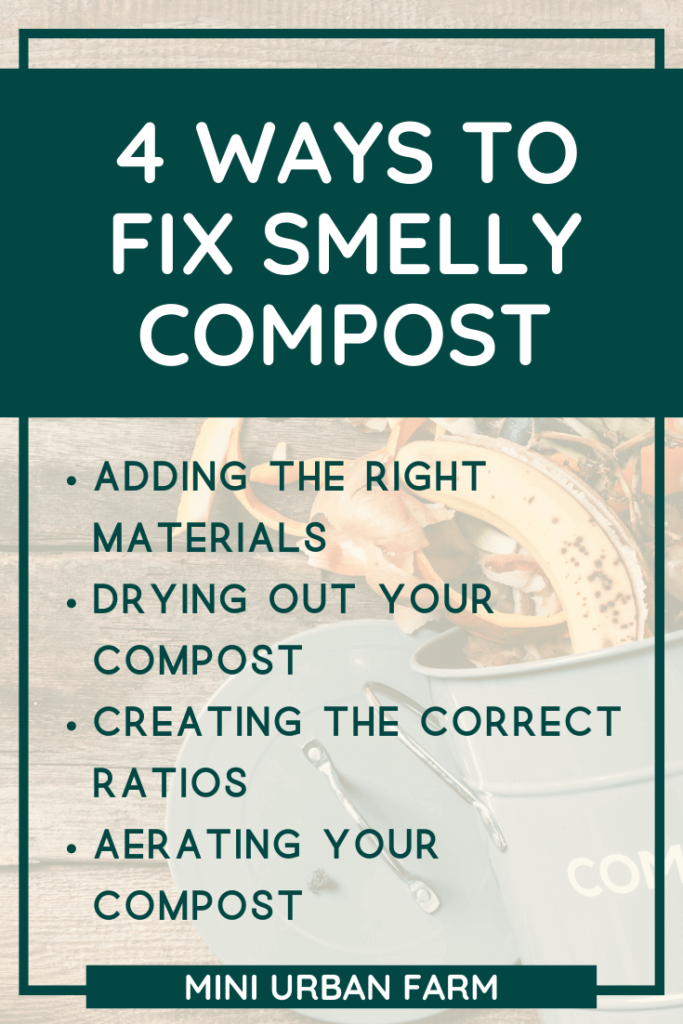
- Adding the right materials
- Drying out your compost
- Creating the correct ratios
- Aerating your compost
- What should compost smell like?
- Tips for creating quality compost
- Benefits of homemade compost

Disclosure: This post may contain affiliate links. If you purchase a product through one of our affiliate links we make a small commission from the sale at no extra cost to our readers.
4 ways to Fix Smelly Compost
I have been kitchen-composting for several years now in a turn-able compost bin – it’s perfect for small spaces and takes up almost no room!
I take all my kitchen scraps and put them in an airtight container, and at the end of the day, week, or whenever they accumulate, I come outside and put them in my compost bin.
And while I can genuinely say that I love making homemade compost, it’s not without it’s challenges!
There are several reasons why your compost might smell – so take a look at these reasons and narrow down if one (or many) of these mistakes might be making your compost smell bad!
Why does my compost smell?
Ultimately your compost smells bad because the balance is off.
This can be a balance of the “green and brown” materials (nitrogen and carbon), an imbalance of the proper nutrients needed to make compost, or an imbalance of air and water.
But either way you can narrow down the cause by using the list below!
1. You’re using the wrong materials
Let’s jump into one of the main reasons why your compost smells, which is also the easiest one to fix.
That is, that you are adding the wrong things to your compost!
You should only be adding browns and greens, which are carbons and nitrogens, to your compost. These are things like:
- grass clippings
- vegetable scraps
- newspapers
- eggshells
- coffee grounds
But essentially, you should not be adding anything that has meat, dairy, or any fat.
If you are adding milk, cheese, bones, and fat, it is not going to produce good compost in the long run. And you’re only going to attract bugs and have smelly icky compost!
There are ways to compost these materials but those are a little bit more advanced and we’re not getting into that in this post.
So if you’re using a normal compost bin or pile, you should only be adding green and brown materials – no animal products (besides egg shells.)
Plus, adding meats, fats, and other unwanted materials to your compost bin will definitely attract rodents, magets, flies, etc.
Which is the last thing you want!
How to fix it: Add the right materials (or start over)
The easiest way to fix this problem is to remove the wrong materials you added.
Now this can be tricky if you’ve added dairy or fat – or if you have lots of bugs in your compost because of this.
So my recommendation would be to just start over.
Because at the end of the day those materials will still be attached to your compost and slow down the process.
Oh, and the bugs of course! No one wants to stick their hand in a pile of bugs – ick!
2. Your compost is too wet
Wet compost is a common problem.
Because when compost gets too wet, it becomes the perfect breeding ground for anaerobic bacteria, which causes a putrid smell and prevents your system from making quality compost.
My compost bin has small holes in it to allow the water to drain, but even with a bin like that, too much water is never good!
Some reasons for wet compost include:
- Leaving your bin open to rain
- Putting in a lot of wet materials in your bin
- Not enough carbon in your bin
- Adding excess water
Leaving your compost exposed to rainwater or any other form of wetness will deteriorate the quality of your compost.
The same thing goes for putting too many materials in there, especially greens, that will keep your compost soggy and smelly.
For example, if you’re cracking eggshells, you don’t want the entire egg in there, or other things that will make it very wet.
You want to make sure that if you squeeze your compost, it should have a proper consistency. It shouldn’t be crumbly or so sopping wet that it’s dripping out the bottom of your hand.
It should just be nice and moist and hold together for a couple of seconds and then kind of crumble after that.
You’re going to want the proper balance because if your compost is too wet, it is going to come with a lot of other problems such as:
- Not breaking down at all
- Taking a long time to break down
- Having a bad smell
- Attracting bugs
And of course, all of those are things we don’t want!
How to fix it: Dry out your compost
If you notice that your compost pile is very wet or dripping out the bottom of it, there’s a few things you can do to fix it.
- Introduce more browns into your bin to soak up the liquids
- Avoid having rainwater or any water seep inside the compost bin
- Turn the bin or pile to give it more air
- Add potting soil to soak it all up
Adding potting soil or maybe some carboard pieces is something I like to do if I notice my compost is a little bit too wet.
I will take any extra seedlings that I have from seed starting or other carbon materials and add them to the pile, turning it as I add. This helps dry out your compost and balance the materials.
Plus, it prevents your pile from smelling and attracting critters you don’t want around!
3. Your ratios are off
When gardeners look up “how to fix smelly compost” this is often the first thing they find.
And that’s because getting the right ratio of browns to greens can be tricky – and it was definitely something that I learned the hard way.
For example, if you look it up online you will find lots of different ratios for compost.
You might see a 30:1 carbon to nitrogen ratio, or a 3 parts brown to 1 part green ratio.
So what is the proper balance?
Well, that actually depends on why types of materials you’re adding to your compost bin.
Certain green materials have high levels of nitrogen, so you’ll need fewer of those. Which makes it difficult to recommend an exact ratio for composting.
But there is one simple rule that I like to follow.
How to fix it: Create the correct ratio
My best tip for having that proper balance is to check your compost on a regular basis.
Over time (like a few weeks) you should see some of those materials start to break down. And your bin should feel warm-hot inside.
If you notice that it’s taking a long time for your compost to break down and it’s very dry inside, add more greens. You’re compost is likely missing nitrogen to start the decomposition process.
If you’re noticing that your compost is smelly and soggy, add more browns. You’re likely missing carbon to balance out the bin.
What I like to do is save my kitchen scraps when I cook – things like eggshells, coffee grounds, banana peels, extra herbs, and any veggie scraps. I keep them in an airtight container under the sink.
And then when that container is full I just add it to my compost bin.
This works out really well because I cook a lot and never have to worry about when to add to my pile – it’s just my normal routine at this point!
And then every once in a while if I see any issues, I’ll add in some carboard or used pine shavings from our chickens to balance it out.
I don’t really worry about getting exactly the perfect formula because it is likely never going to happen.
But just make sure that if you are seeing issues with it, you add in the right materials to fix it! This is one of the easiest ways to fix smelly compost.
4. Lack of Aeration
Another reason that your compost might smell is that it is not getting enough aeration. That means that you’re simply not turning your compost pile enough.
You’re allowing it to sit and cake down and basically, it’s not getting enough air to do its job and decompose.
You see, the bacteria that is responsible for breaking down your compost materials needs air. Without air, it cannot survive.
So if you notice compacted, stagnant compost, it’s an easy fix!
How to fix it: Aerate your compost
My compost bin (which I highly recommend) is actually on legs that allows it to spin and move all of the contents around.
It also has small air holes all around it that allow air into the bin.
So every few days (or when I remember) I simply spin the compost bin and I’m all set!
However, if you have a pile instead of a bin, you’ll want to make sure that you are actually turning it onto itself or onto another pile.
A good way of doing that if you have an actual pile instead of a bin is by allowing some chickens to rummage through it. They’ll peck and scratch at it (along with adding in their droppings).
This gets air into the pile with significantly less work for you. A technique I highly recommend!
But however way you go about it, if you’re not turning your compost pile then that is likely the reason that it smells!
Psst…want to fast track your garden? Get access to my FREE gardening resource library and start maximizing your garden today!
What should compost smell like?
Compost should smell like dirt.
Even during the breaking down process, your compost should not smell bad at all.
If it does have a foul odor to it, you’ll want to examine one of the reasons above for bad smelling compost. And use one of the techniques listed on how to fix smelly compost!
Tips for Quality compost
One important thing that you need to create quality compost is patience!
And I know this one is easier said than done!
When I first got my compost bin I checked it every day and saw very little changes.
But now that I’ve been making homemade compost for a few years, I check it every few weeks or so. Or just look at it when I add in more materials.
As the saying goes, a watched pot never boils. And you’ll drive yourself crazy checking your bin if you don’t exercise some patience!
But I promise, if you’re doing it right by adding the correct materials consistently, it’ll do its job.
Plus, you should know when to stop adding materials!
Yes, this one can be tricky, I know.
If you have an actual bin it’s a little easier because you can just fill it until it’s full.
But if you have a pile, you’ll have to gauge when to stop adding materials and start a new pile.
Usually when the pile is 3 feet by 3 feet by 3 feet in size that’s a good time to start a new pile.
Because if you’re constantly adding new things in there, it will never have a chance to finish it’s job. So give it time to rest!
Just one side note, however! Too much compost can kill plants! Check out why in this post!
benefits of homemade compost
I make my compost by adding all the essential scraps and allow it to sit for a little while, and at the end of that period, I have a whole bunch of black gold to put in my garden.
Making your own compost has been an adventure over the past few years. Plus it has many amazing benefits that you wouldn’t get from buying compost from the store:
- Making your own compost from your kitchen scraps and waste cardboard and newspapers saves you money.
- You create less waste by using up all the things you would have otherwise thrown out.
- You know what’s in your compost – something you can’t say with store bought compost.
- You can create as much as you want!
And for more gardening resources, get access to our free gardening resource library! It will help you fast track your garden and it only takes 5 seconds!
PIN Ways to fix smelly compost
