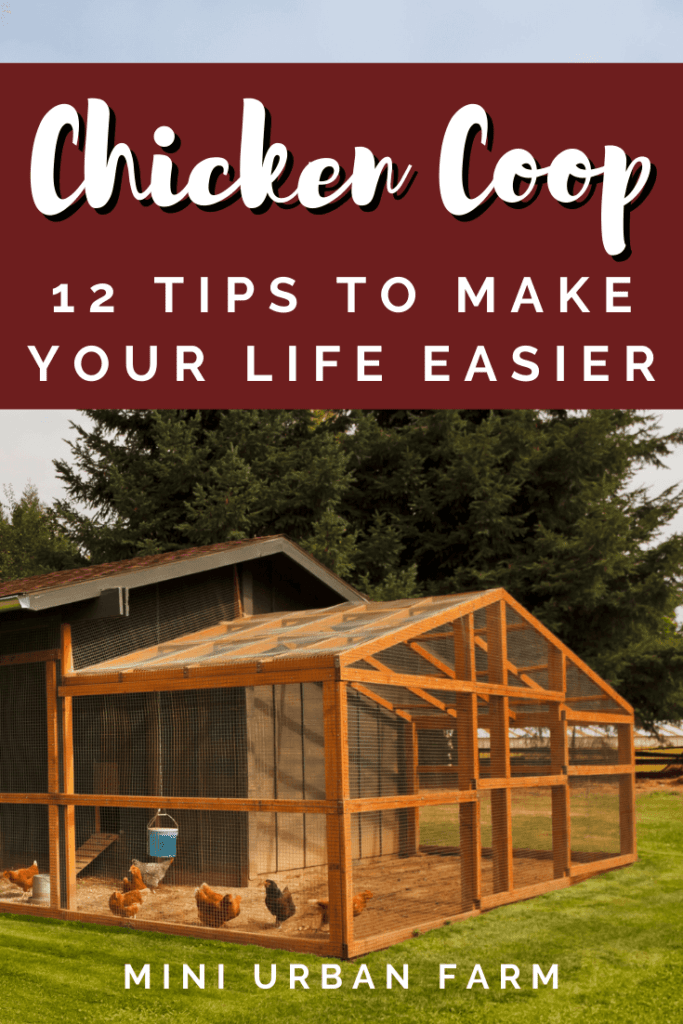
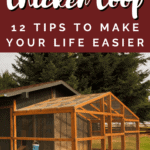
When it comes to designing a chicken coop, there’s a few things I wish I would have done differently with our first coop. A lot of those mistakes could have been prevented with more research, but a bunch of them I’ve learned through experience only. And to save you from the headache that is a badly designed chicken coop, I’ve compiled my top practical chicken coop design tips to help you keep a healthier, happier flock of chickens!
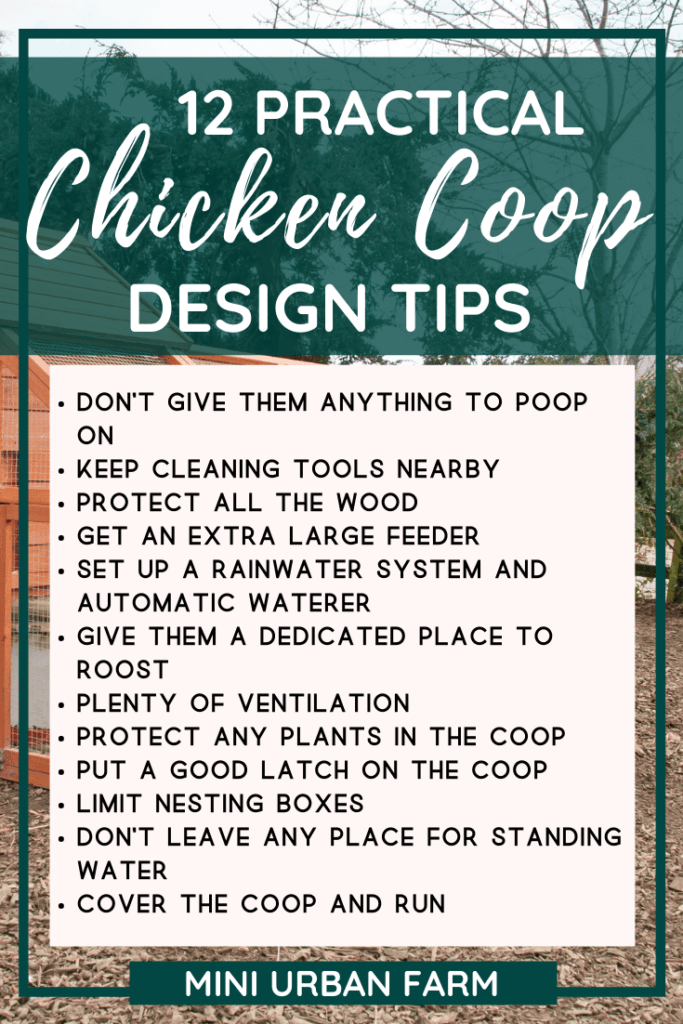
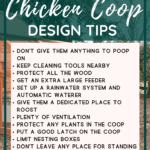
Practical Chicken Coop Design Tips:
- Don’t give them anything to poop on
- Keep cleaning tools nearby
- Protect all the wood
- Get an extra large feeder
- Set up a rainwater system and automatic waterer
- Give them a dedicated place to roost
- Plenty of ventilation
- Protect any plants in the coop
- Put a good latch on the coop
- Limit nesting boxes
- Don’t leave any place for standing water
- Cover the coop and run
Disclosure: This post may contain affiliate links. If you purchase a product through one of our affiliate links we make a small commission from the sale at no extra cost to our readers.
1) Don’t give them anything to poop on
A lot of the work involved in keeping backyard chickens is maintaining a clean chicken coop.
But this is easier said than done.
Even using the deep litter method, I still spend a lot of time cleaning my coop – but you can definitely reduce the amount of cleaning if you don’t give your birds anything extra to poop on – this is ultimately the best chicken coop design tip I can give you.
Let me repeat that.
DON’T. GIVE . YOUR . BIRDS . ANYTHING . TO . POOP . ON .
Because they will literally poop on EVERYTHING.
The feeder – yup. Inside the waterer – of course. The stairs leading up to the chicken coop – definitely. Anything they can climb on (or stand on top of) they will poop on.
You can reduce the poopable surface areas by doing some of the following:
- Hang their feeder so it swings (they seem to not like jumping on things that swing)
- Put the nesting boxes a foot or two off the ground instead of building them that adorable ladder to get to their nesting boxes
- Anything extra inside the coop should have a slanted top so they can’t stand on it
- Make an automatic waterer with these poultry nipples so they can’t drink icky water.
Trust me on this one – you’ll thank me later!
2) Keep cleaning tools nearby
Another point while were on the topic of keeping the coop clean is to keep your tools near the coop.
Originally I would lug my rake to the coop and then back to the garage, and back again.
After a while of doing this I put a little hook on the outside of the coop which allows me to hang the rake right on the coop.
Now, not only is it easier to get to, but I also remember to rake the chicken coop bedding around a lot more often!
Keeping your tools nearby will save you tons of time and headaches, and it just makes sense!
3) Protect all the wood
In our first coop I made the mistake of using untreated, uncovered wood inside the coop.
What I really should have done was to protect the bottom of the coop (not the run) with a layer of vinyl flooring or something that wouldn’t soak up all the droppings, excess water, rain, etc.
Because there’s nothing more frustrating than trying to clean untreated wood after it’s been soaked in rainwater and chicken droppings!
And even if your coop is completely covered, mildew forms and the humidity starts to rot the wood!
So either protect the wood by adding a layer of waterproof flooring or paint the wood (with non-toxic paint, of course) to keep it from rotting!
And in our next chicken coop I definitely plan on reducing the number of wood surfaces to help eliminate this problem altogether!
4) Get an extra large feeder
This chicken coop design tip is simple – but not always common sense!
The smaller your chicken feeder, the more you have to refill it. And ultimately the more work you end up doing to lug chicken feed back and forth.
In fact, we have gone through several chicken feeders specifically for that reason.
We now use a trash bin – with a rounded lid of course so they can’t stand on it!
You simply get these no-waste feeders, cut out holes in the trash bin, and screw these feeders to the side!
It took me less than 10 mins to set up the whole thing and I can fit almost 100 pounds of chicken feed inside. (You can see the full video here.)
That means I only have to refill their food about once per month!
I mean, if that isn’t efficiency then I don’t know what is!
And don’t get me wrong, we didn’t start with this system – we started with a small 15 pound feeder, and then upgraded to a tote bucket feeder, and now we have our huge trash bin feeder.
So learn from my mistakes and save yourself the headache!
5) Set up a rainwater system and automatic waterer
On to the chicken waterer.
This is a very similar concept – give them lots of water with very little effort on your part!
We got a 55 gallon rain barrel and put a spigot on it. Then added a gutter to the side of the coop to collect water when it rains.
This filters into the rain barrel and that is attached to a hose which feeds water into the coop.
Using these poultry nipples also prevents the chickens from splashing water everywhere and making a mud pit out of the run!
This system allows us to almost never worry about their water – of course, we still check it every now and again to make sure it’s full and we refill it when it doesn’t rain as much.
6) Give them a dedicated place to roost
Chickens will roost in the highest place they can find.
In our coop, that was the specific roosts we added to the inside of the coop for them – or so we thought.
One night we went out to the coop after dark and noticed that they were all propped up on top of the coop itself!
Since the coop is still enclosed inside the run, we’re not too worried about predators.
But what we did notice is that since they roost on top of the coop, their droppings end up all over the sides of the coop *sigh*
Believe me when I say we had to learn things the hard way!
With chickens it helps to give them clear places to do their thing – specific nesting places, specific roosting places, and specific places that are ok to poop on!
7) Plenty of ventilation
Giving your birds plenty of ventilation is really important for their health – and to prevent the coop from smelling bad!
But however much ventilation you think is a good amount, double it!
We actually went back and cut more ventilation into the walls of the coop – you’d be surprised how much smell gathers up in there – especially since most coops are made of wood.
As your chickens spend more and more time in there, the wood absorbs odors and one of the main ways to air it out is simply to give them more ventilation than you think they need.
Just remember to always cover the ventilation with hardware cloth to prevent predators from getting in!
8) Protect any plants in the coop
A while back I had seen this post on Pinterest about all the types of plants you can plant inside your chicken run.
So of course, being the oh-so-smart chicken keeper that I thought I was, I started propagating herbs like crazy to plant inside the run.
Approximately 2.5 milliseconds after I planted those herbs, the tiny raptors destroyed them.
And I mean destroyed.
Everything was gone – the leaves, the herbs, heck, even some of the dirt!
So now when I plant my chicken herbs inside the run, I make sure to put some chicken wire around the base of the plant so that they can only get at the leaves, not the roots.
And maybe even wait until the plant is a little bit more established to give it a fighting chance against your chickens!
9) Put a good latch on the coop
When I first got my chicks, they were terrified of me – but that changed real fast.
Now whenever I go to collect my eggs or clean out the coop, they rush to the door and try to escape through my legs like the tiny raptors they are!
And usually that’s not a problem since we let them free-range if were doing some work around the property. But sometimes we try to keep them inside their coop since we won’t be around for a bit.
So one time I went into the coop to collect eggs for the day and I must not have closed the latch properly – or maybe the latch was just cheap.
But either way, I turned around and all my chickens were running around the yard! They pushed right through the door and let me tell you – herding chickens is not an easy task!
So for the few dollars extra we upgraded to a better latch – to save the headache of chasing our chickens around the yard and looking like crazy people!
10) Limit nesting boxes
When I was building our first coop I would get so excited looking at all these beautiful chicken coop designs and nesting box ideas. I wanted to give my hens the best place to lay their eggs.
So I ended up building about 6 nesting boxes for my 10 hens.
But what I quickly learned is that you really don’t need that many boxes.
Hens love to share nesting boxes! And I often find 10 eggs in one box, zero in the others.
A good number to keep in mind is about 1 nesting box for every 3-4 hens.
So after a redesign of our coop, we now have 3 nesting boxes for 10 hens and that seems to be the perfect number!
11) Don’t leave any place for standing water
Just like above where I mention that you shouldn’t give them any place to stand/poop on…don’t leave any place for water to collect.
Not only will this create a breeding ground for mosquitoes, but it’s also a breeding ground for diseases!
Your hens will see this water and drink from it – a huge problem since that water will likely be mixed with chicken feces, dirt, and bacteria!
In fact, letting the coop get too wet and having standing water in the coop was how my hens got coccidiosis shortly after we brought them home! Such a rookie mistake and one that I hope you never have to deal with!
So make sure to keep all the drinking water covered, add in extra bedding when it rains, and provide a dry area for your chickens!
12) Cover the coop and run
At first we only planned on covering half of the chicken run. But after talking to a few other chicken owners about chicken coop designs, we decided to cover the whole run.
We did this for a few reasons.
One, we are in Florida so it gets hot – like really hot.
Having a roof over the entire run provides lots of space for our chickens to roam around without having to worry about the heat.
Now, this does cost a bit extra for the roofing, but in my opinion it was well worth it!
Secondly, it rains tons in almost every season here – even more in summer. And having a roof on both the coop and the run helps to keep moisture and water out of the coop.
Which as we already discussed, helps to ward off diseases!
So if you’re trying to decide if you should cover the coop and run, my answer is yes! Definitely cover both!
Which direction should a chicken coop face?
If you live in a climate with colder winters, you should face your coop south to take advantage of the sunlight as much as possible. This will give your hens extra sunlight which keeps them laying for longer throughout the winter!
However, if you live in a climate where ample sunlight is not an issue, focus on placing your coop in a high, dry area that won’t accumulate water when it rains, and has lots of shade throughout the day!
Is it cheaper to build or buy a chicken coop?
When we first started looking for a chicken coop we were shocked at how expensive a small chicken coop could be!
We looked at every major farm store, hardware store, and even smaller local places. And I just couldn’t justify spending hundreds of dollars on a coop for 5-6 hens!
You read that right, hundreds.
And not only that, but we have 11 chickens for eggs. Even more for meat! So buying a coop was definitely out of the question!
That being said, the cost of materials for a DIY chicken coop adds up fast also!
So use the chicken coop design tips in this article plus, some of these things we did to build a high-quality chicken coop for cheap!
- Use recycled materials – we used scrap lumber and random pieces of PVC pipe we had laying around
- Be flexible – we had scrap wood that was 7 feet, 8 inches instead of exactly 8 feet long. So our chicken coop ended up being just shy of 8 feet!
- Use alternative materials for the run bedding – we have tons of pine trees around our property. So you better believe we put those to good use! Instead of laying pine shavings in the run, we went with pine needles and wood chips from trees we’ve taken down!
- Take a minimalistic approach – those curtains on the nesting boxes might look super cute, but they add to your overall cost. Plus, chickens probably don’t need a chicken swing!
How many chickens can you put in a 10×10 coop?
There are so many answers to how much space chickens need.
I use this general rule of thumb – 8 square feet per bird inside the run and 4 square feet per bird inside the coop.
But even that can be super confusing because not all chicken coops look the same!
My chicken run is about 8 feet wide (well, 7 feet 8 inches) by 12 feet long. That gives me about 96 square feet for all 11 birds. So just over 8 square feet per bird.
My run, though is only about 16 square feet – BUT it’s about 4 feet high which allows me to add in lots of roosting space for my birds.
You see, when people talk about space needed inside the coop, they’re mostly referring to the roosting space for the chickens, and nesting box space for your hens!
So as long as your birds have enough space to roost, lay their eggs, and roam around freely, you’re good.
My birds have open access to their run 24/7. Plus, we let them out to free range on our 1.7 acres about 4-5 days per week!
So for our birds, I feel pretty good about how much space they actually have!
Hopefully these practical chicken coop design tips will really help to make your life easier! I know they have made chicken keeping so much more fun for me and given our birds a higher quality of life!
Pin Chicken Coop Design Tips for later!