Butchering quail can feel intimidating and your nerves can make you want to back out, especially for a beginner. But once you get over the initial fear, it’s quite simple. And if you want to start homesteading, processing animals will be a part of your life. So whether you’re raising quail for meat or raising quail for eggs, I will take you through how to butcher quail for beginners including methods of processing quail, how to de-skin quail, how to prepare quail for the table, and how to humanely process quail.
How to butcher quail for beginners:
- Methods of processing quail
- Neck Popping
- Decapitation
- How to de-skin quail
- Quail preparation for the table
- What to do after butchering quail
- Tips for humanely processing quail
Disclosure: This post may contain affiliate links. If you purchase a product through one of our affiliate links we make a small commission from the sale at no extra cost to our readers.
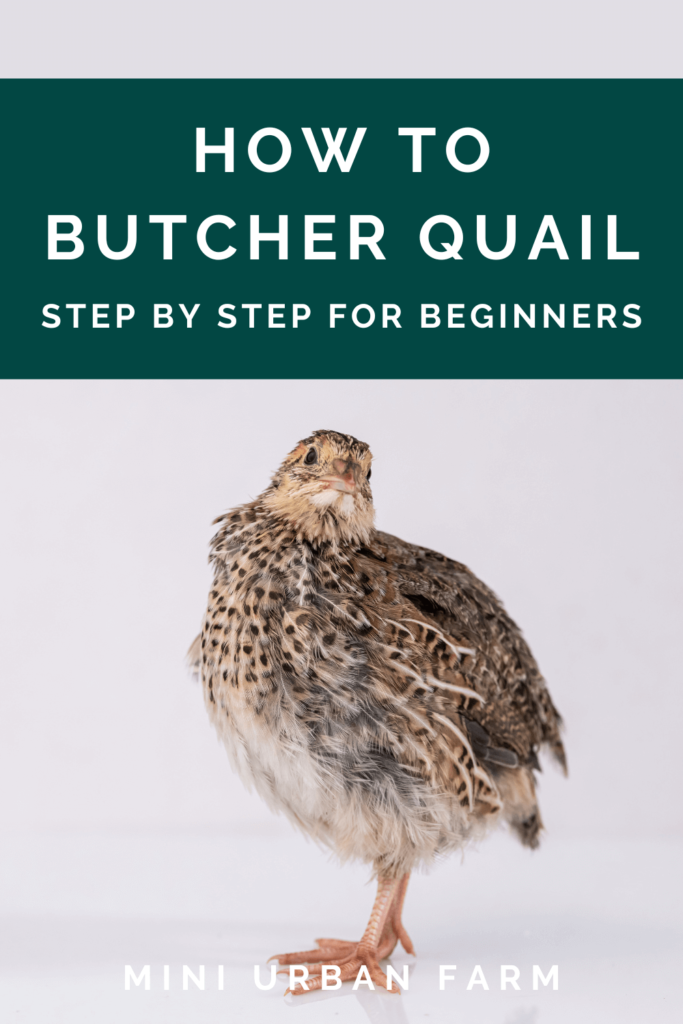
How To Butcher Quail For Beginners
Today I’m going to process out our entire flock of quail and I’m excited to show you how it is done!
So by following these steps you’ll have all the knowledge to butcher out your birds yourself. And if you need a visual, you can watch exactly how I do it in the video below.
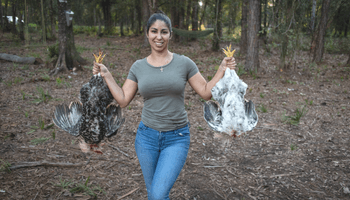
The main reason we are getting rid of all our quail is that we haven’t used them. We have lots of chickens that we raise both for meat and eggs, and quail was for food for our dog, Milo.
He didn’t take to it the way that we expected so we will be taking a step back and re-introducing it to him over a longer period of time.
But we have a lot going on and don’t want to have to deal with another set of incubation cycles, another set of raising animals, and taking care of chicks at the moment.
That’s why we want to give it a break with the quail and then eventually, in the future, we will bring quail back onto our homestead since they are such a great animal for a suburban homestead!
Methods of Processing Quail
Processing quail can be messy if you’re a first-timer and don’t have the experience yet.
But if you are a beginner homesteader and are serious about raising a flock of quail, learning how to butcher quail is something that you’ll have to get used to!
And whether or not you’re raising your birds for meat, there will be instances where you’ll need to cull some of the flock – extra males and sicknesses come to mind.
That’s why it is important to know the best, quickest, and most painless ways to process your quail.
Here are the two methods I use to process my quail:
- Neck popping or non-bloody as I like to call it
- Traditional cutting of the head
In the non-bloody method, you can pop the quail’s neck and there is no blood, which is one of the best methods to butcher quail for beginners. But this way definitely takes some practice.
The second method is more graphic because it involves cutting off the quail’s neck off. But the good news is that it is quick and painless!
Neck Popping
I mostly use the neck popping method when I process quail for my dog, Milo, because he can eat it whole and there’s no mess.
The neck popping method is probably going to be better when you are raw feeding a dog or want little mess to clean up after.
This method involves pulling the neck until the bord goes limp. You can set it down even when it’s flapping because there is no risk of getting blood splatter everywhere.
How to Butcher a Quail by Popping It’s Neck
You don’t need any special tool to carry out this exercise. You just need a container to place the birds, your hands, and a strong grip.
Sounds simple, right? If you’re in the right headspace to do this, It’s a piece of cake!
Here is how you do it.
- Fold your index finger into a hook, and place it underneath the quail’s neck
- Place your thumb right off the base of the quail’s head
- Push your thumb down hard and quickly pull the neck forward
- The quail goes limp right after and then may start flapping around
Don’t be alarmed when your quail starts flapping right after you pop its neck – this is completely normal. It means that the nerves are allowing it to die.
The quail will flap for about 30 seconds to one minute and then the wings and legs relax. You can place it in your container even when it’s flapping and just let it be.
If you’re a beginner and are not ready to cut your bird’s head, this is most certainly the way to start processing your quail.
Decapitation
Unlike the first method where you only need a container to put your quail in, this method requires you to have a few extra tools such as scissors, wipes, and a 5-gallon bucket.
You’ll need a very sharp pair of scissors for this. If your scissors aren’t sharp, you’ll try to cut through the quail’s neck but it won’t work, which hurts the bird. So either get a good pair like this one, or get a sharpening stone to make sure your scissors are razor sharp!
You’ll also need a 5-gallon bucket to catch all the blood.
Personally, I don’t really care much if the blood drains on my lawn, but if you don’t want that then you’ll want something to catch the blood.
Alternatively, you can also opt to do this exercise in the kitchen sink – which I do not recommend if you’re doing this for the first time.
The bird has a tendency to flap around when decapitated and if you’re not holding tight enough, you will get blood everywhere, trust me.
That’s how we did it for the first time.
I was definitely not ready for all the flapping and it was not fun cleaning quail blood off of the garage walls for the next couple of hours!
How to Butcher Quail via Decapitation
The difference between the first and the second method is that in this method, we cut the neck off.
Which in my opinion is actually easier than popping it’s neck.
To do this just follow these steps:
- Place one blade underneath the quail’s neck and the other on the base of the head
- Quickly cut the neck all the way off
- Hold the bird tightly at a 45 degree angle downward and let the blood drain out
- Place it in the container after it goes limp
It is important to hold the quail tight until all the blood has drained out. Otherwise, it’s going to flap its arms, wings, and everything – splattering blood in the process.
It takes about 30 seconds for the blood to drain and once it goes limp, you can feel the legs and wings relax a little.
Once you feel the quail stop spasming, it is safe to place it with the others.
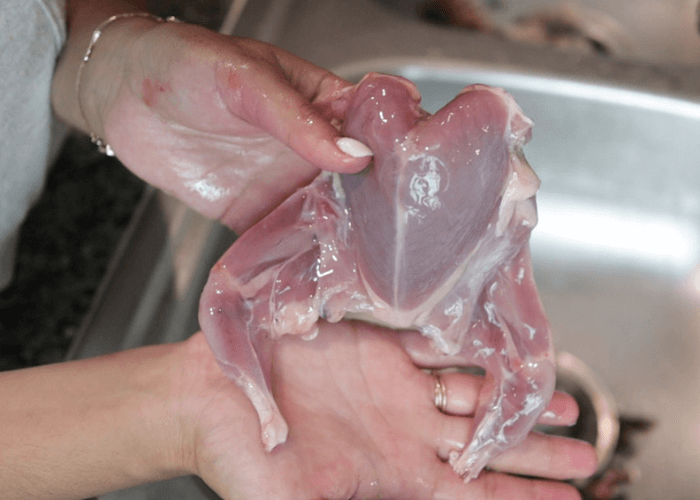
How to De-Skin Quail
Now that the nerve-wracking part of butchering quail is over, the next step is to de-skin them.
What I love about de-skinning quail is that I don’t need sophisticated tools to do it. I use my trusty scissors and my hands!
De-skinning quail is easy and quick and shouldn’t take you too much time. Here is how you do it:
- Remove the wings by clipping them with scissors. I prefer to take it upside down just because I can see it better where the wings meet the rest of the body
- Then clip off the legs. I do this right at the little joints where you can bend them. The legs might be a little bit harder and this is where good scissors come in
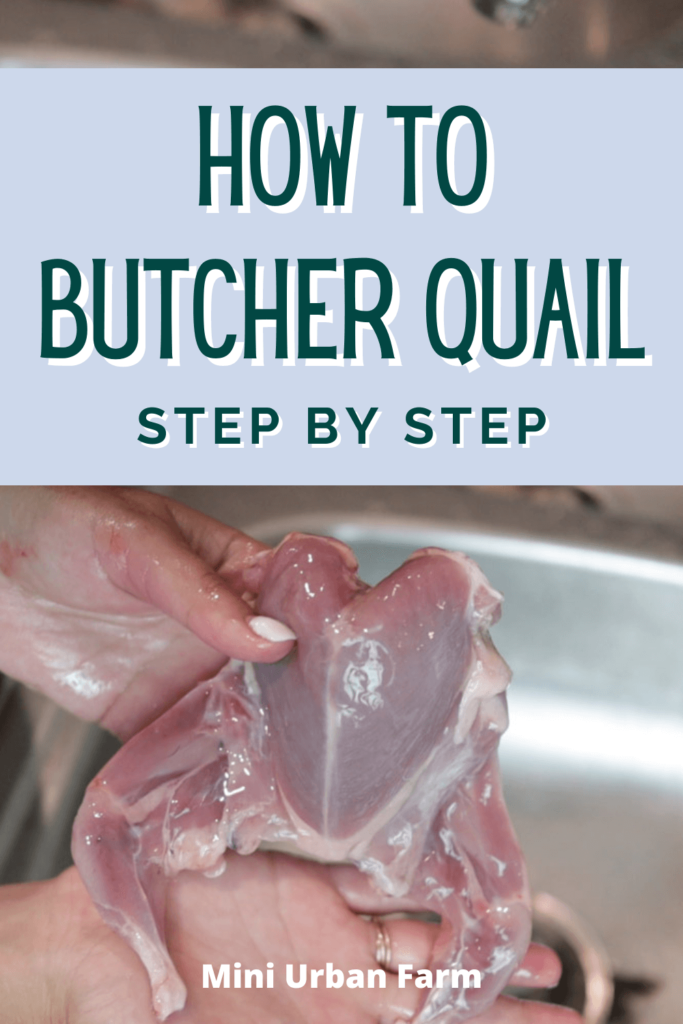
- Remove the skin. Quail skin is very thin and you can just rip it off the bird
- Hold the quail upside down right on the breast, get a good grip, and just rip it open. This exposes the meat and you can keep going all the way until all the skin is off the bird
I’m always surprised by how quickly it turns into looking like actual meat. I don’t know, maybe that’s just the city person in me!
Quail feathers are beautifully spotted and I sometimes save them to make earrings, which is a great way to use other parts of the animal.
And because you hardly ruin the feathers when you de-skin your quail, you can save feathers to make ornaments and other decor.
But, if you’re not too keen on saving them, you can put them in the trash together with the legs and wings, or feed them to your dog.
Just keep in mind that de-skinning the quail is something you’ll want to do in your garage or kitchen sink – that way you can rinse it as you go!
Quail Preparation For The Table
After you are done de-skinning your quail, you are ready to prepare it for cooking.
The first thing to do is cut it open and get all the organs out.
Flip it upside down and you will see the spine that runs all the way from the top to the bottom.
Take your scissors and slide them up one side of the spine, cutting as you go. Next, you’ll want to cut along the other side of the spine and remove it completely.
You will see a whole bunch of organs that you need to get rid of.
To make this easier, you can spread the quail open and expose the insides a bit better.
Once you do that, it is time to get the organs such as the lungs, heart, and all the icky stuff out. Basically there should not be anything remaining on the inside of the bird at this point.
Clean it well under running water and voila! Our quail meat is ready for the grill!
I don’t usually save the inside stuff and I’m not sure anyone does, but if you really want to keep it, you can feed it to your dog – just make sure to introduce it slowly!
As far as deboning the quail, it’s really not necessary.
Taking out the rib cage takes time and you can opt to cook without deboning it.
What To Do After Butchering Quail
Now that you know how to butcher quail, I recommend that you brine it for a day or two before cooking.
Brining the meat will help give it more flavor and be easier to eat.
If you try to cook it right away, the bird is going to go into rigor mortis (if it hasn’t already), and it’s going to be very hard and not going to taste great.
To brine the bird just fill a container with saltwater.
I don’t have an exact measurement but normally I do 10 parts water to 1 part salt.
Then add in your birds and wait 48 hours or so before cooking.
Tips for Humanely Butchering Quail
It’s normal to be hesitant the first time. But the main thing is to be as humane as possible.
Here are my best tips on how to butcher quail humanely:
- Make it quick – You need a sharp pair of scissors to sever the head as quickly as possible. A blunt pair will prolong the bird’s suffering.
- Don’t doubt yourself – Once you have your scissors around its neck don’t hesitate. It’s not going to be humane if you take your time.
- Don’t think about it – The more you do, the more you prolong the process, and the more stress you put on yourself and the bird.
I’ve been asked questions like:
- How do you work your way up to it?
- How do you calm your nerves before doing it?
The best advice that I can give you is, don’t think about it. Once you have yourself in the space to butcher quail, get your scissors and just do it.
Decide ahead of time if butchering quail is right for you and then go for it.
And that’s essential for any animal you butcher out.
Deciding to butcher an animal can be nerve wracking, but prolonging the experience will just make it worse for everyone involved!
PIN How to Butcher Quail for Beginners!