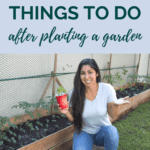
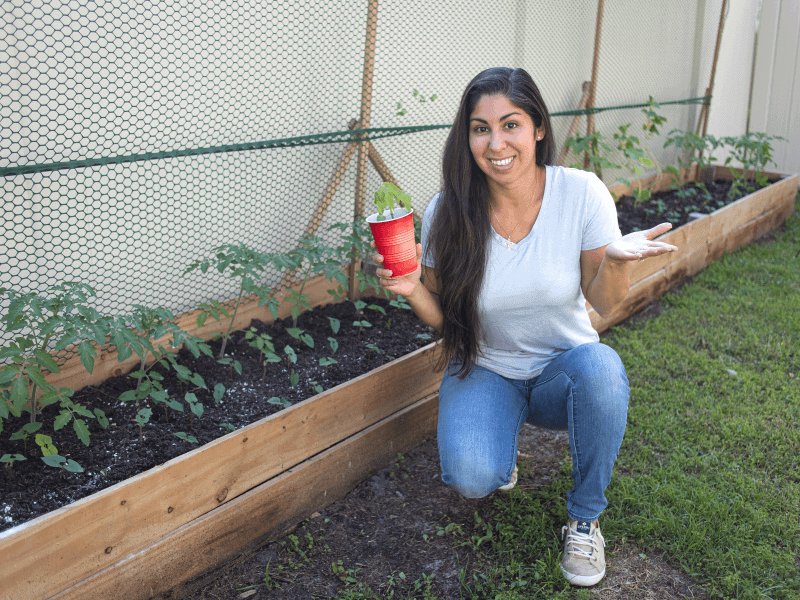
Every year gardeners wait for that magical time where we can plant our seeds in the ground and watch them grow. Then the time comes, the temperatures rise and you can finally get planting. So your seeds and seedlings are in and your job is done, right? Nope! There are a few more things you need to do before you’re finished! Check out these 4 things to do after planting a garden to make sure your garden is set up for success!
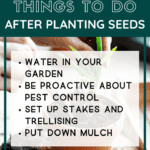
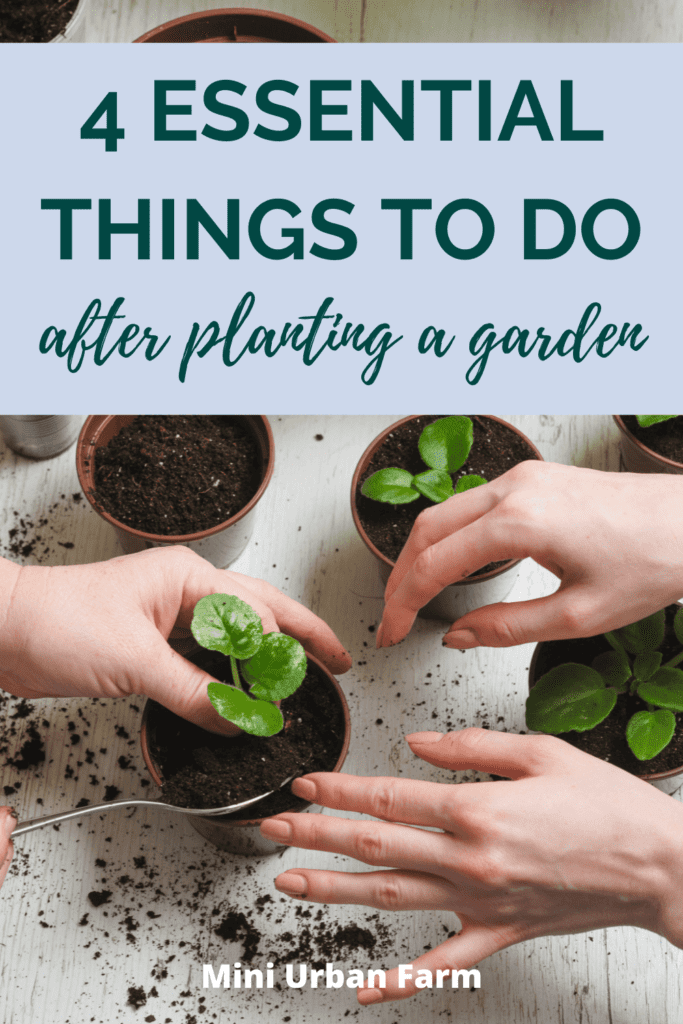
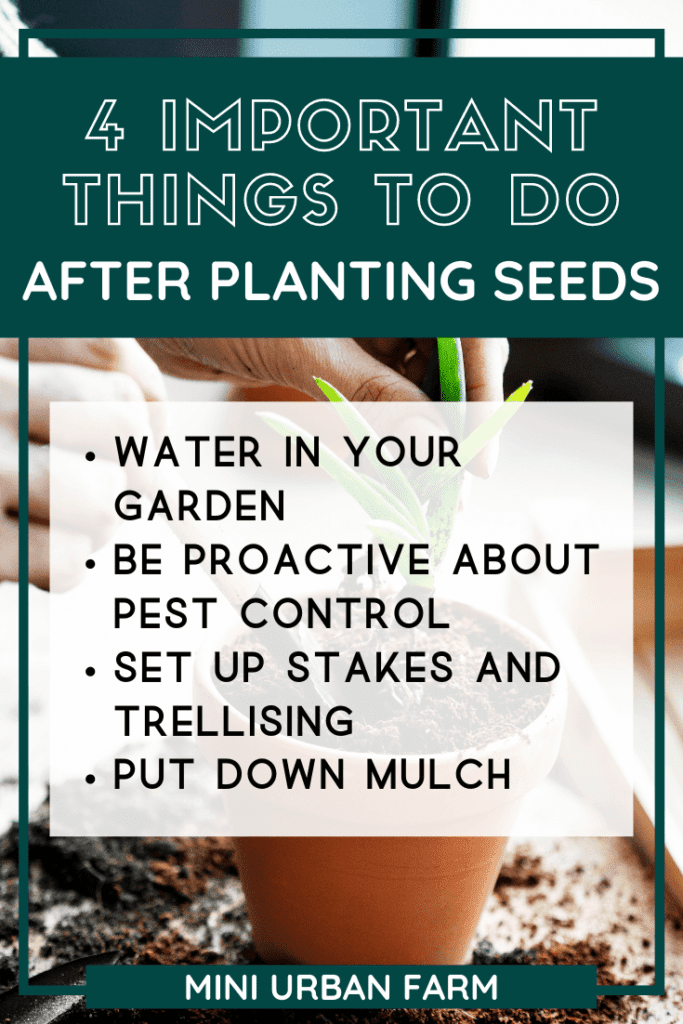
Things to do after planting a garden:
- Water in your seeds and seedlings
- Be proactive about pest control
- Set up stakes and trellising
- Put down mulch
Disclosure: This post may contain affiliate links. If you purchase a product through one of our affiliate links we make a small commission from the sale at no extra cost to our readers.
Things To Do After Planting a Garden
Gardening is one of my favorite parts of homesteading, and for good reason!
What other activity allows you to turn a tiny packet of seeds into actual food?
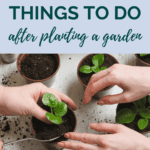
But if you’re going to have a successful harvest, you have to do more than just stick some seeds in the ground. You have to water them, take care of them, protect them from pests, and make sure that they’re getting what they need.
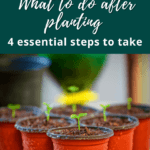
So here are four essential things to do after planting a garden.
And for more gardening resources, get access to our free gardening resource library! It will help you fast track your garden and it only takes 5 seconds!
1. Water in your garden
It’s no secret that plants need water to survive. But it’s always surprising how many people forget to deep water their garden after planting seeds.
And notice I said “deep water.”
This is not the time to be frugal with your watering, or let your plants “settle in” before you water them.
Now is the time to give your plants a nice big drink of fresh water to help them adjust to their new environments.
Here are a few considerations, however, depending on what you planted.
- How to water in seedlings – apply water to the soil surface, avoiding getting the leaves wet. Let the water absorb and then repeat. This will help the roots to adjust and you’ll notice that any wilting leaves will likely prop themselves back up.
- How to water in seeds – in my experience, overwatering seeds (especially bean seeds) can cause them to rot in the ground. So apply water at the soil surface, but if the soil is already drenched, apply less than you normally would.
Watering in your garden after planting is the most important thing you can do to ensure that your seeds and seedlings survive.
And seedlings especially need as much help as they can get when it comes to adjusting – transplant shock is real!
So make sure you don’t skip this step – or you could come back to fried up leaves!
2. be Proactive About Pest Control
This is something I learned the hard way – the very hard way.
So I’m here to tell you that pest control should always be a proactive activity. Do not wait until you see pests in your garden to think about pest control!
Back when I first started gardening I did not garden organically – I’ve come a long way since then!
But back then, I would see some pests on the leaves of my plants and grab whatever chemical-ridden pesticide I got from the store to spray everywhere.
Now, this was actually very effective – until the next pest showed up and I had to do the same thing all over again.
Meanwhile, my garden was only surviving due to these harmful chemicals which (in my opinion) defeated the purpose of growing a garden – to be healthy.
So fast forward many years and I got into organic gardening.
Well, organic “pesticides” and other pest control methods don’t really work the same way. I found this out after having my entire tomato and kale crops lost to pests!
So I started doing everything I could to protect my garden from all the creepy-crawly things – and I found that organic methods don’t hurt your plants like traditional pesticides. Which means you can use them as soon as your plant your garden!
Here are 5 ways to be proactive about organic pest control:
- Use diluted neem oil at the base of your plants to ward off pests that eat your plants – my main method for controlling aphids and leaf miners!
- Sprinkle diatomaceous earth on your soil and the plants’ leaves – focusing especially on the areas around the stems
- Plant companion plants – I use herbs to ward off creepy crawlies around my plants
- Don’t leave the soil exposed – it’s easier for pests to get around!
Psst…want to fast track your garden? Get access to my FREE gardening resource library and start maximizing your garden today!
3. Set Up Stakes and Trellising
The next step you need to take is setting up any garden stakes or trellising you need – if it isn’t already set up.
For example, I always have my trellising in place – it runs along the back side of the garden, and I plant my crops accordingly.
But for non-trellising plants (like my determinant tomatoes) I use garden skates to keep them up. These don’t permanently live in my garden. And I also move them around, depending where they’re needed.
So right after I plant out my seedlings, I take inventory of what plants will eventually need staking, and set up my stakes in those spots. Trust me, it’s much easier to do it when your plants are still seedlings!
The same applies to trellising.
If you use any sort of moveable garden trellising, you’ll want to put it in place before those vegetables start trellising themselves onto nearby trees (or windows or other plants!)
Because explaining to your husband why there’s a loofah plant embedded into the window screen isn’t as comical as it sounds!
And not only will it be better for the organization of your garden, it’s much better for your plants, too!
The last thing you want is a heap of indeterminant tomatoes on the garden floor because you forgot the trellis!
And if you want to know exactly how I plan for trellising in my garden map, check out my Starting Your Urban Vegetable Garden workbook =)
4. Put Down Mulch
Alright, so I’ll be the first to admit that I have a kind of love hate relationship with mulch.
Yes, mulching is an essential part of gardening. And yes, it saves your soil and plants from all types of pests and diseases.
But in the tiny space I currently have to garden (60 square feet until the dream house is finally built) giving up precious gardening space to MULCH makes me cringe.
So I have a solution for that – living mulch.
Now, if you have more space than I do (or you’re not ready to jump into semi-permaculture methods) than using straw, or pine shavings, or really anything else works perfectly fine!
Really, the main point I’m trying to make is just to not leave your soil exposed.
But if you’re like me and the thought of giving up your garden spaces makes you angry, keep reading.
Living mulch is basically a way of “mulching” by growing more plants in the empty space (hooray for that!)
Now, you don’t want to shove 2715 tomato plants into one space and call it living mulch. That’s just overcrowding.
Living mulch is usually done by interplanting your regular crops with things like herbs or small flowers – which grow more shallow roots.
Benefits of living much for your garden:
- You get to use otherwise wasted space – and harvest more!
- Protects the soil from erosion
- Keeps moisture in the soil and reduces the need for watering
- Prevents weeds – if you use up all the space, there’s no room for weeds to grow!
- Attracts pollinators – depending on what you plant, it’s a good way to bring in some beneficial insects!
- Keeps pests away – makes it more difficult for creepy crawlies to travel around your garden
Ever since I started doing this, I have had to deal with way fewer pests and diseases in my garden. Plus, I get the added benefit of harvesting from that living mulch too!
In my garden, my go to living mulch is parsley and thyme. So instead of planting those two things out on their own, I’ve started planting them out underneath my tomato plants.
By the time my tomatoes would usually have had pests all over them, the living mulch is big enough to prevent pests and is even giving me herbs to harvest!
Garden Maintenance
Alright, so you’ve watered, staked, been proactive about pest control, and even mulched.
Now what?
Do you just come back at the end of the season and collect your harvest? No!
Gardening does not stop after you’ve planted out your seeds. And regular garden maintenance is an essential part of growing food!
So here’s a few things you should be doing on a regular basis to care for your garden:
- Look for signs of pests – if you find holes in your leaves or eggs on the bottom of plants, it’s time to ramp up your pest control efforts!
- Check for signs of disease – disease in the garden spreads fast. So act quickly to prevent it from taking over
- Look up signs of nutrient deficiencies – things like yellow, purple, and brown leaves – or lack if fruits and flowers signal that your plants aren’t getting what they need!
- Adjust your watering as needed – seedlings need more water than established plants. And watering needs will change as the temperature changes
- Continue to stake and trellis your plants – as plants grow their trellising needs will change. You’ll need to keep on top of that to make sure they stay healthy!
A great way to do regular garden maintenance (and enjoy some relaxing time in the garden) is to go on morning garden walks.
So right after I wake up, I pour myself a cup of coffee and walk my entire garden – taking note of anything I need to fix or harvest.
If you want to see exactly what I do on my morning garden walks you can check out this video – or read the blog post!
How often should you water a garden after planting?
Watering your garden is a whole topic in and of itself! And unfortunately there is no hard and fast rule on how much to water your garden after planting.
The amount you will need to water will depend on several factors – like the types of plants you have, how old your plants are, the amount of sun they’re getting, if you planted in ground or in raised beds, how much it’s going to rain, and even your soil type.
And…the amount you water your garden will actually vary throughout the season!
But, the good news is that it’s easy to figure out how much you need to water – and most plants are pretty forgiving if you adjust your watering in time.
So here’s how I decide how much to water my garden:
- Set my watering timer to 15 minutes per day (if you’re watering by hand, just water each plant in for a few seconds)
- Water on a regular and consistent basis – when plants are young I like to water every day unless it’s raining out
- Observe for a few days at a time – notice any brown or yellow leaves, if the soil is oversaturated or constantly dry
- Adjust as needed – either add more/less time to your timer or make a mental note to increase/decrease daily watering
But, one of the most important things to keep in mind is to make small changes to your watering. Never go from 10 minutes of watering to an hour, for example. The last thing you want to do is shock your plants and it will be difficult to see what’s working if you’re jumping between extremes!
How Much Time Does it Take to Garden?
With all this talk of regular garden maintenance, it can seem like a full time job to take care of a garden!
So it might surprise you to know that I only spend about an hour or two per week on my garden (about 3-4 hours when I had a larger garden.)
Most garden tasks don’t take up that much time, honestly. And once you know what to look for, it’s easy to spot problems and fix them quickly!
If you want a full breakdown of how much time I spend gardening you can check out this post on how I homestead with a full time job!
I hope this was super helpful! And for more gardening resources, get access to our free gardening resource library! It will help you fast track your garden and it only takes 5 seconds!
Pin 4 Things to Do After Planting a Garden!
Pingback: 9 Important Things to Know Before Starting a Garden - Mini Urban Farm
Pingback: How to Start an Urban Vegetable Garden in 8 Simple Steps - Mini Urban Farm